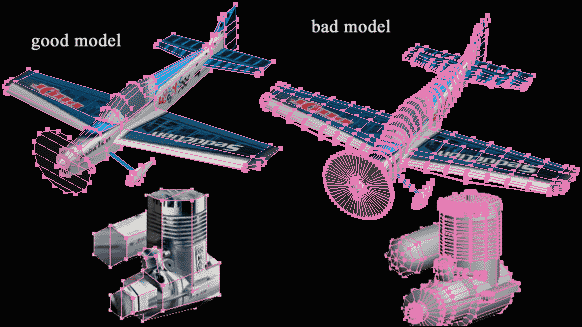
Too big model data will make slow frame rate and disturb smooth flight. Too much polygons and huge bmp-file are not good. (I recommend you to use only one bmp-file in 256 x 256) |
| Top page & What's NEW! | Download models | Download Scenery |
| Create the new airplane | Create the new scenery | ParDesigner & GeoEX |
| SmartPropo |
| Create the new airplane
|

Too big model data will make slow frame rate and disturb smooth flight. Too much polygons and huge bmp-file are not good. (I recommend you to use only one bmp-file in 256 x 256) |
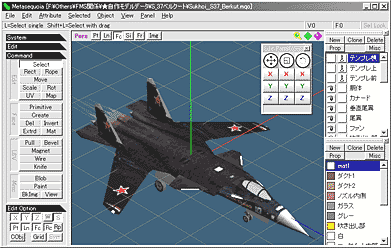 |
Please use MetasequoiaLE R2.1 or 2.2.
|
(It is more familiar with it than the English page.) It translates automatically by using the translation software. Click here, and you can get English page. (Originally Japanese page) Q&A of Metasequoia & Other modeling techniques Author Yosito Sekiai (Japan) |
Make the folder named "Fms" in the folder "MetasequoiaLE" which was made by installing.
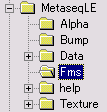 |
Save model data and a mapping bitmap here.
And copy the suitable par file and wav
file from the FMS model.
Rename them to the new airplane name, which you are going to make.
All those files must have the same name.
Start a Metasequoia.
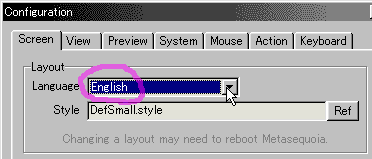
Configuration > Screen
Language
Change it to English.
Configuration > System
Select the same folder where you are going to save a model data.

Remove check in the file menu > Basic mode.
Display panel menu > Object panel, Material panel, Edit panel.
set to D3D or GL.

Push Pt Ln Fc button. (Show
Points,Lines,Faces.)
![]()
Push Rc button. (Enable
to select with rectangle)

*** Make the body***
Double_clicks on the name(obj1).
Change the name to "body"


Push F5 key .
Change to projection view.
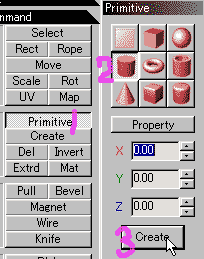
Push Primitive, Select columnar
and
Push Create button.
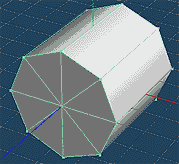
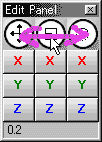
Drag X rotational button, it will rotate
as below.
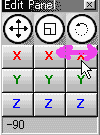
Move the expansion reduction button, make it smaller.
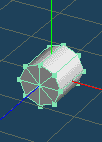
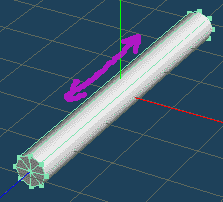
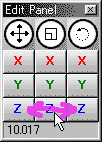
Drag Z button, make it longer.
Push F1 key .
Change to side view.
Push knife button.
Cut a body at two points.

***Let's get a good shape!***
Push Rect button.
Select a section.
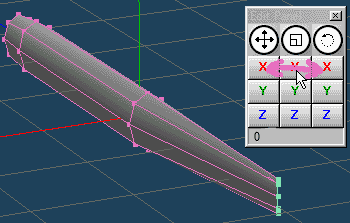
Make it small.


Make a tail much thinner.
Push New button on an object
panel .
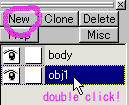
double click on the name.
Change the name to "wing".
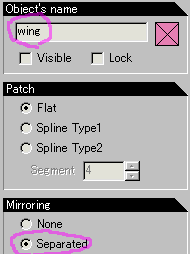
Check Separated .
You can get symmentrical model easily.
Confirm "wing" is blinking.

Fc OFF

Push F1 key
Change to side view.
Push Create button.
Select Front and Line,
Draw the cross section of the wing by putting points as below.

Push eye of the body, it will disappear

Fc ON
![]()
Pull button ON.
Surround and select it.

Push F2 key .
Change to upper view.
Drag to the right.
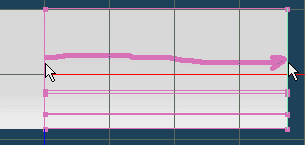
Make the end of the wing smaller.
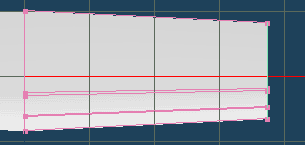

Push F5 key
Change to projection view.
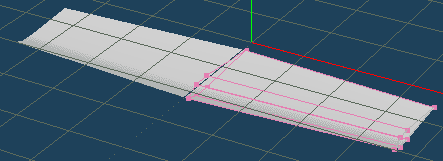
It seems that the inside of the wing become the surface.
Push select all

Choose Invert from the menu.
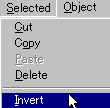
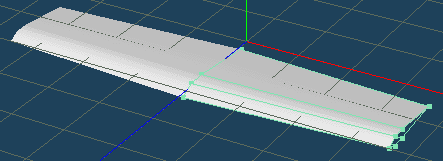
Push View button
Zoom,Move,Rotate
Choose each.
drag a window further.
Turn a point of view as this snapshot.

Push Create button.
Select Front Tri.
Click 3 points on the end of the wing to make a triangle surface.

Change to Face.
Clicks 4 points to make a square.

Like this, make an all face.
Let's make a tail and vertical stabilizer copying and arrange the wing.
select a wing on the object panel.
Push Clone.
and, write down 2 in the number.
Push OK.
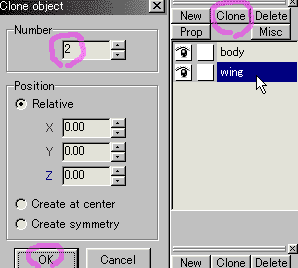
Rename them to "tail" and "stabilizer".
Hide all objects except the tail.

Push select all

Move the tail backward

Make it smaller.

Connect right and left.
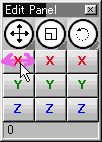
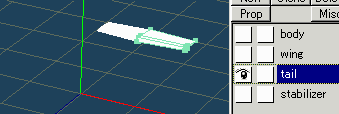
Arrange the shape, if it is necessary.
Hide all objects except the stabilizer.

double click on the name.
Check Mirroring "None".

Push select all
Turn it in the Z direction on the Edit
Panel.
Move X center.
Arrange the shape, if it is necessary.
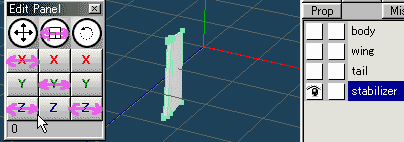
Make all parts appeared and arrange the shape
and the balance of each part.
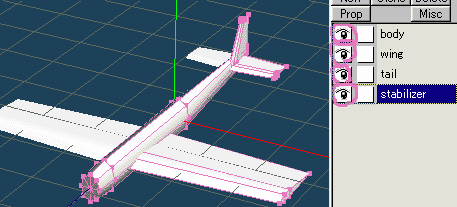
Hint! Metasequoia grids' size is 50cm*50cm
(When size isn't changed at the
time of the x file output.)
Draw a picture with paint software.
Make the size 256X256 pixels.
You can use a photograph data for it.
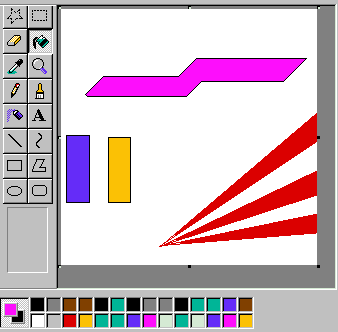
Save it as a bmp file in the [MetaseqLE--fms]
folder.
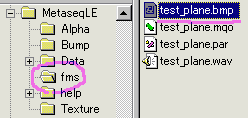
(Name it the same name of the new plane.)
NEW!
|
Check these if texture isn't indicated. Is bmp file 256*256 [72 pixels/inch] size? MetasequoiaLE>Configuration > System
Is bmp file in [Fms folder in the MetaseqLE folder] ? Save a BMP file absolutely in this folder!!  |
On the Material panel
Push New button.

double click on the name.
Refer to a bmp file.
emission OFF.
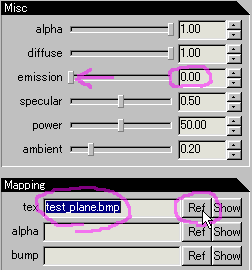
Show all parts.

Push select all

Choose set material to faces from the menu.
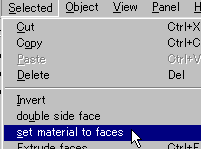
Hide all objects except the wing.
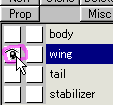
Push F2 key .
Change to upper view.
Fr ON.
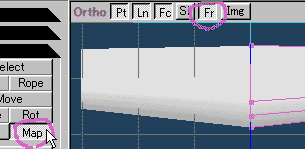
Push Map button.
Change Select face.
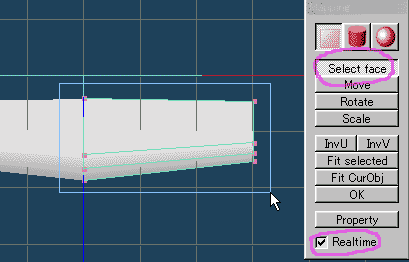
Enclose and select it.
Realtime ON.
Push Property button.
Angle_Pich -90.
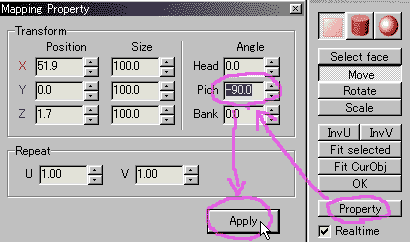
Push Apply button.
Adjust a position(Move) and size(Scale).
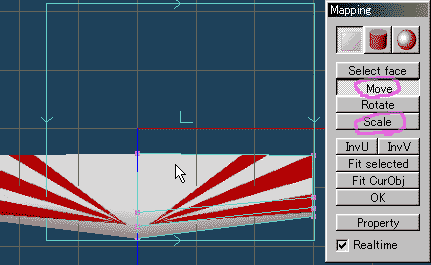
Rotate and adjust it.
The secret for rotating horizontally is turning
the cursor little by little.
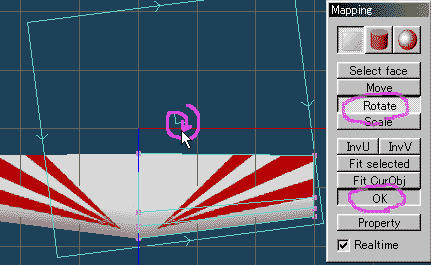
* When you get the best position, please push a [OK
button]. *
Push Shift+F2 key .
Change to bottom view.
Do the same work.
Select face,
Property,
Move and Scale,
Push OK.
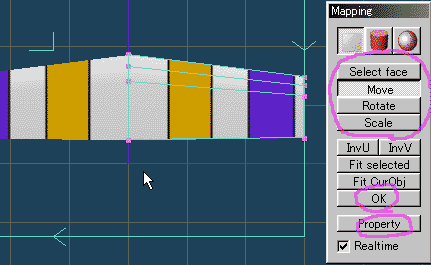
The work of the tail is the same.

Push F1 key
Change to side view.
Hide the one except for the wing and stabilizer.
Fr OFF.

Select all by using Select face.
Push Property button.
Angle_Head 90.
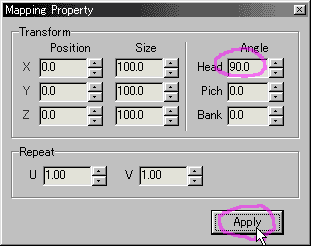
Push Apply button.
Adjust Move and Scale,
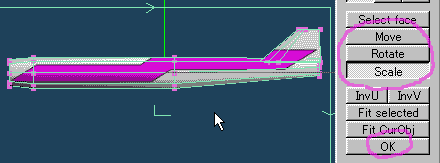
Push OK.
Make translucent quality of the material.
On the Material panel
Push New button.

double click on the name(mat2).
Adjust alpha 0.6
Color V 50

Push New button.
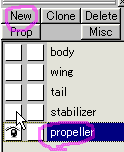
Name it "propeller"
Push Primitive, Select columnar
and
Push Create button.

Push Rect button.
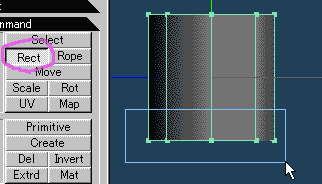
Select the bottom.
Then, push Delete key.
Select all.
Choose double side face from the menu.
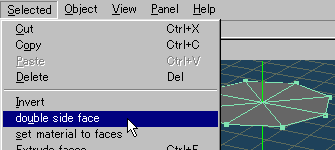
Show all parts.
Adjust a position and size.
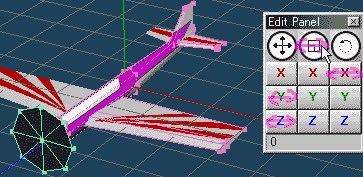
Transform a primitive ball, and make a
cockpit.
Transform a primitive column, and make
tires.
Tire is Mirroring Change Separated.
Modeling symmetrical now is made simply.
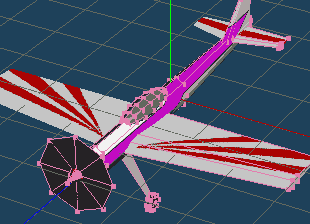
Push F1 key
Change to side view.
Push select all

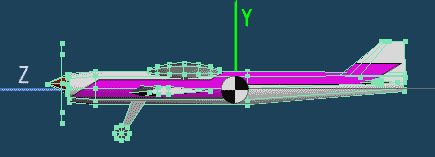
There is a place where X, Y, Z cross.
That becomes the center which a model turns to in FMS.
It is almost the place of Center of gravity.
Adjust a center.
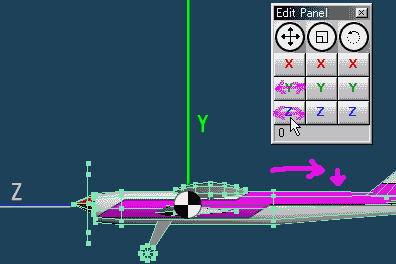
A point to notice!
Z-axis(blue line) in Metasequoia is not
a surface of the land in case of planes.
| *** Your airplane has been completed! *** |
Save the model.
SaveAs... x file again.
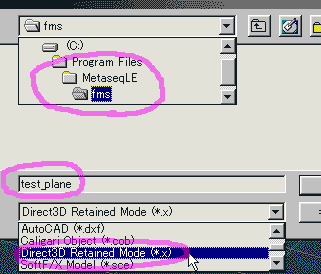
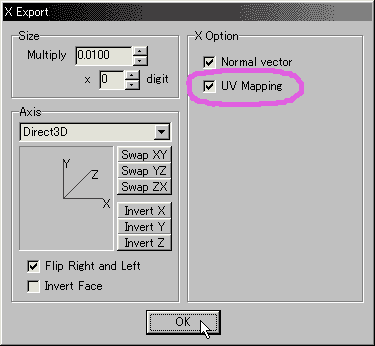
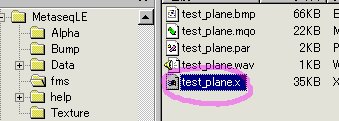
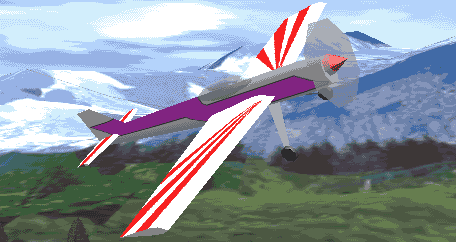 |
| *** Metasequoia
sample data download ***
mqo.zip 1061kb 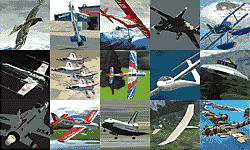
Copy OK! All data can be used freely. |
It is possible to convert an x file to a geo file, if you need.
Download
( GeoEX )
This
is the software which Japanese Mr.Masuoka made.
geoex.zip 310KB
| Mr. Masuoka said.
"English was made to change automatically. However, it cannot be confirmed in the personal computer which I have. When it doesn't go well.Change the name of (GeoEx.enu)." In the case of the German computer. GeoEX.enu>>>GeoEx.deu
|
File menu>Open...
load a x file.
File menu>To geo
file...
Then, Save As....
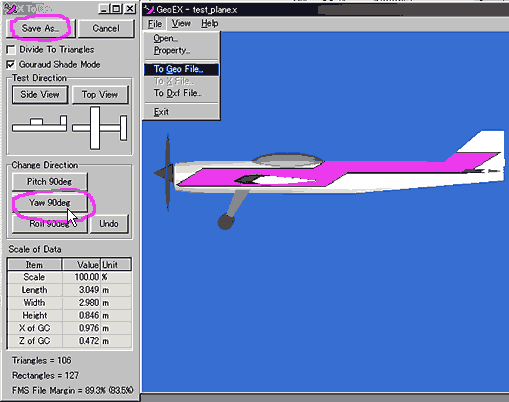
| Notice
Return it to the original file. Don't put the same name of x file and geo file in the same folder.
|
I hope this information will prove useful to you.
Let's enjoy it!
***Author Yosito Sekiai (Japan) ***
xxxxxxxxxxxxxxxxxxxxxxxxxxxxxxxxxxxxxxxxxx
Homepage. RC
airplane Experimental atelier
xxxxxxxxxxxxxxxxxxxxxxxxxxxxxxxxxxxxxxxxxx
| <<<<Return |